Question 64 of 197 from exam AZ-100: Microsoft Azure Infrastructure and Deployment
Question
SIMULATION -
Click to expand each objective. To connect to the Azure portal, type https://portal.azure.com in the browser address bar.
When you are finished performing all the tasks, click the "Next' button.
Note that you cannot return to the lab once you click the "Next' button. Scoring occur in the background while you complete the rest of the exam.
Overview -
The following section of the exam is a lab. In this section, you will perform a set of tasks in a live environment. While most functionality will be available to you as it would be in a live environment, some functionality (e.g., copy and paste, ability to navigate to external websites) will not be possible by design. Scoring is based on the outcome of performing the tasks stated in the lab. In other words, it doesn't matter how you accomplish the task, if you successfully perform it, you will earn credit for that task.
Labs are not timed separately, and this exam may have more than one lab that you must complete. You can use as much time as you would like to complete each lab. But, you should manage your time appropriately to ensure that you are able to complete the lab(s) and all other sections of the exam in the time provided.
Please note that once you submit your work by clicking the Next button within a lab, you will NOT be able to return to the lab.
To start the lab -
You may start the lab by clicking the Next button.
You need to deploy two Azure virtual machines named VM1003a and VM1003b based on the Ubuntu Server 17.10 image. The deployment must meet the following requirements:
-> Provide a Service Level Agreement (SLA) of 99.95 percent availability.
-> Use managed disks.
What should you do from the Azure portal?
Explanations
See solution below.
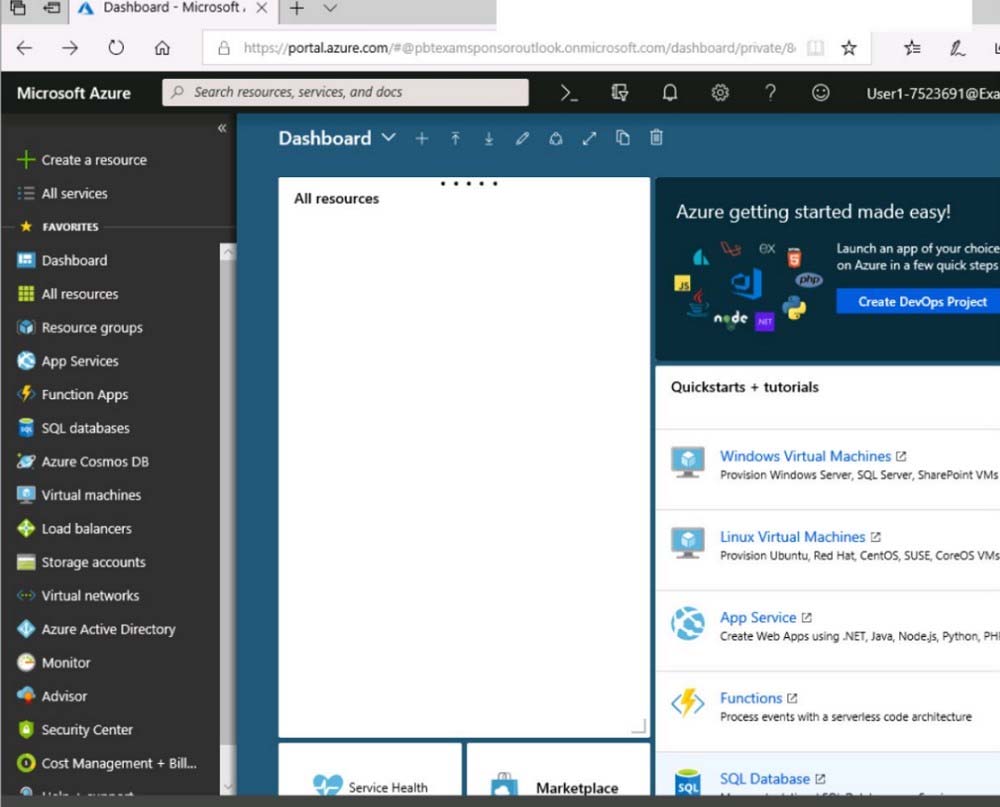
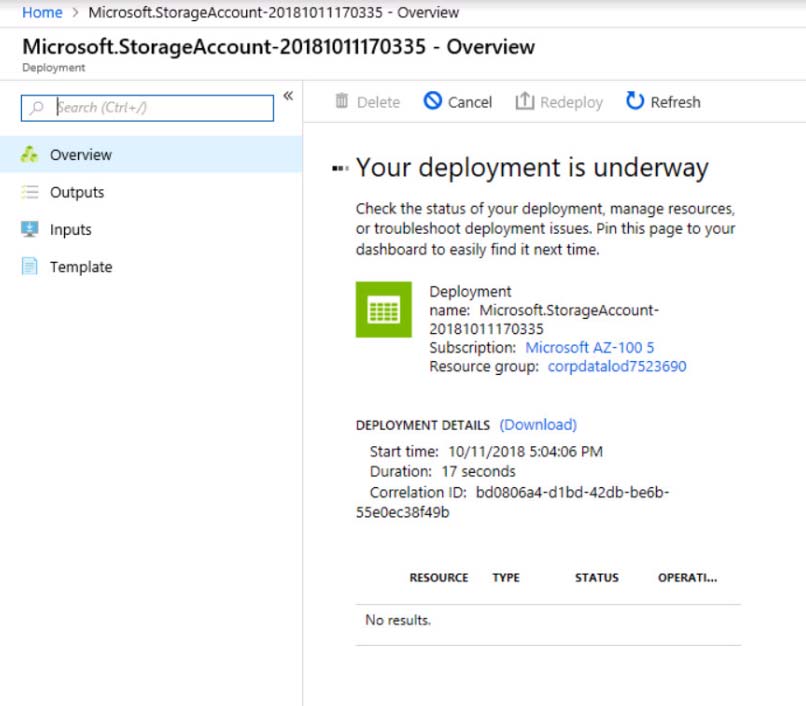
1. Open the Azure portal.
2. On the left menu, select All resources. You can sort the resources by Type to easily find your images.
3. Select the image you want to use from the list. The image Overview page opens.
4. Select Create VM from the menu.
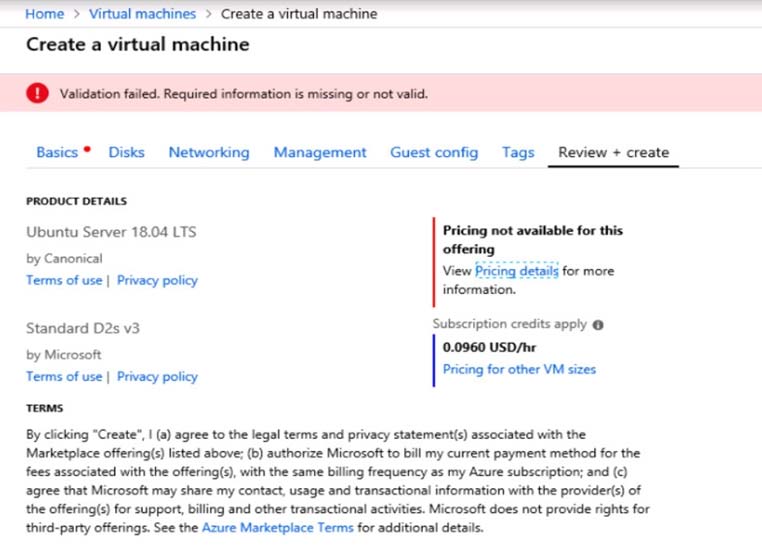
5. Enter the virtual machine information.
Select VM1003a as the name for the first Virtual machine.
The user name and password entered here will be used to log in to the virtual machine. When complete, select OK. You can create the new VM in an existing resource group, or choose Create new to create a new resource group to store the VM.
6. Select a size for the VM. To see more sizes, select View all or change the Supported disk type filter.
7. Under Settings, make changes as necessary and select OK.
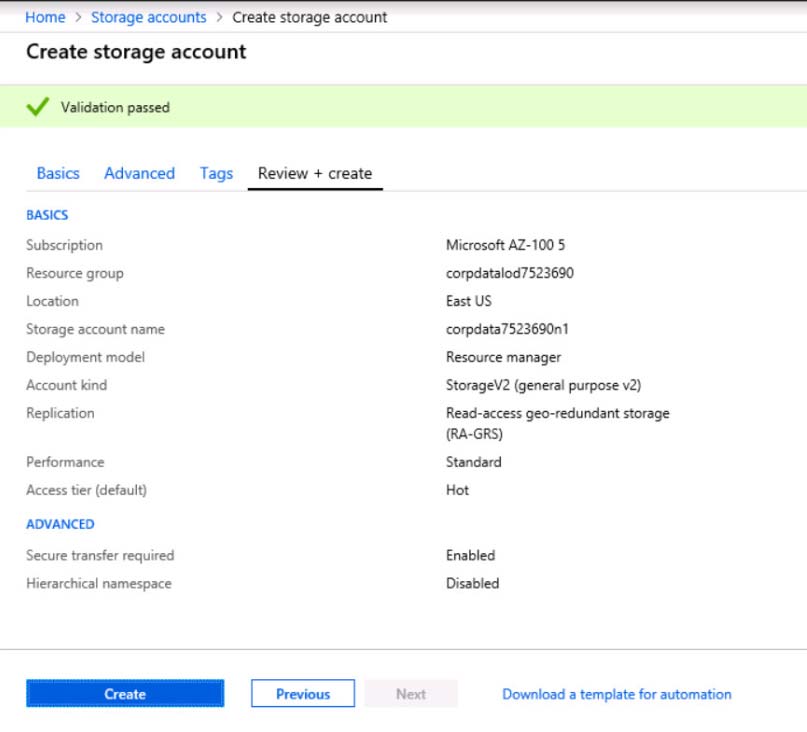
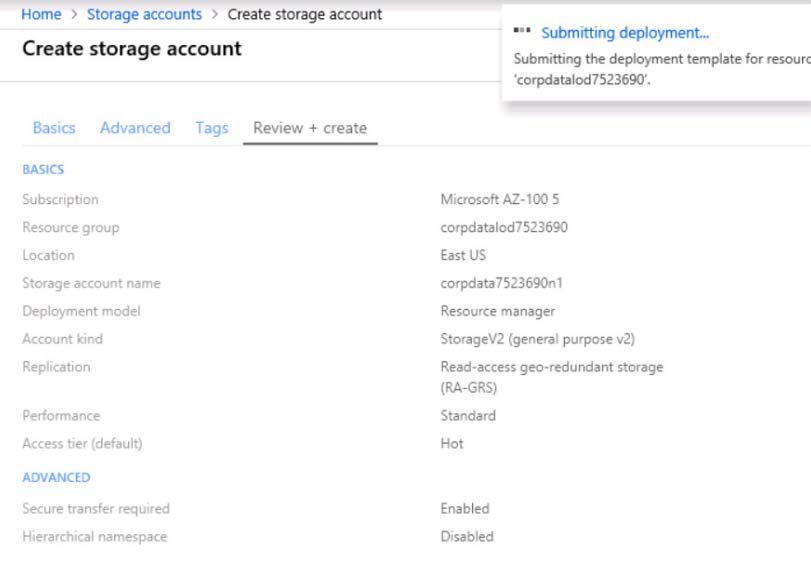
8. On the summary page, you should see your image name listed as a Private image. Select Ok to start the virtual machine deployment.
Repeat the procedure for the second VM and name it VM1003b.
https://docs.microsoft.com/en-us/azure/virtual-machines/windows/create-vm-generalized-managed